How to Remove Candle Wax From Surfaces
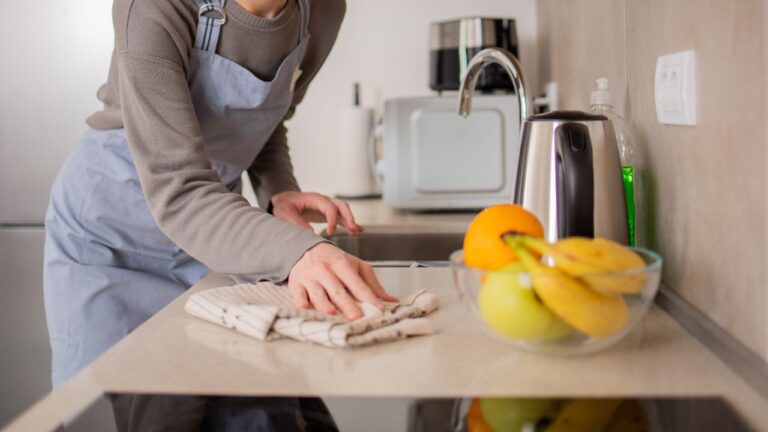
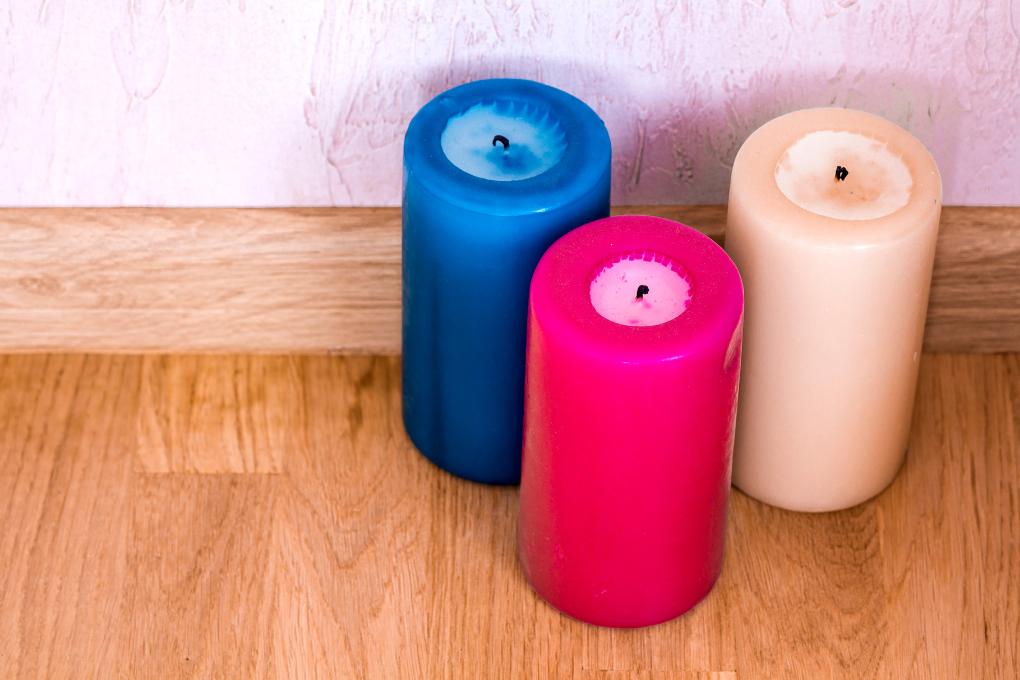
Candlelight sets the mood, but that melted wax? Not so charming once it hardens on your floor, countertop, or upholstery. Whether it’s a drip from a cozy night in or a full-on wax spill from a toppled candle, knowing how to remove it without damaging your surfaces is key.
At MyClean, we’ve seen wax in all the wrong places—and we’ve got the techniques to help you deal with it the right way. Stick with us for expert guidance on how to lift wax safely from every surface, and learn why your cleanup method matters more than you think.
Candle Wax—A Common But Tricky Mess
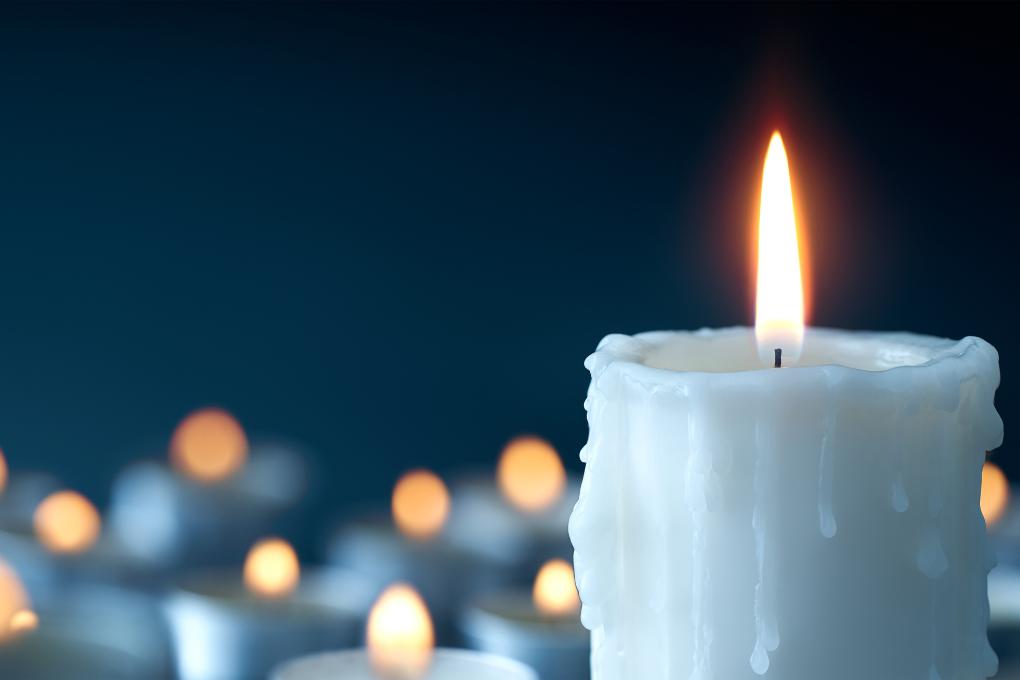
There’s something timeless about lighting a candle. It softens the room, sets the mood, and adds a layer of calm that’s hard to match. But once the wax starts to drip—onto your floors, counters, furniture, or walls—the charm quickly fades. Candle wax spills are one of those messes that seem small but can turn into a much bigger problem if not handled correctly.
Most people instinctively try to wipe melted wax right away. But that often spreads it even further or pushes it deeper into the surface. Others try to scrape it off with whatever’s nearby—knives, metal tools, abrasive pads—which can permanently damage delicate finishes. And scented or colored candles? They bring an extra layer of trouble, since dyes and fragrance oils can leave behind stains and greasy residue long after the wax is gone.
What makes candle wax particularly frustrating is that it behaves differently depending on the surface. A smooth mirror reacts one way, while a soft upholstered chair reacts another. That means there’s no one-size-fits-all solution. You need a method tailored not only to the material, but to the finish, porosity, and even how long the wax has been sitting there.
Step-by-Step Guide: How to Remove Wax Based on Surface Type
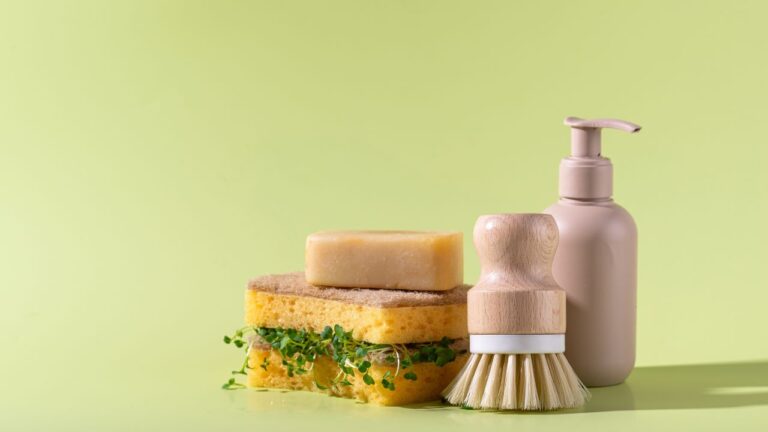
Removing candle wax properly means tailoring your method to the surface you’re working with. A one-size-fits-all approach can cause more harm than good. The steps below are based on industry best practices verified by sources such as the American Cleaning Institute (ACI). These methods are also aligned with MyClean’s own standards of safe, detailed cleaning across diverse home surfaces.
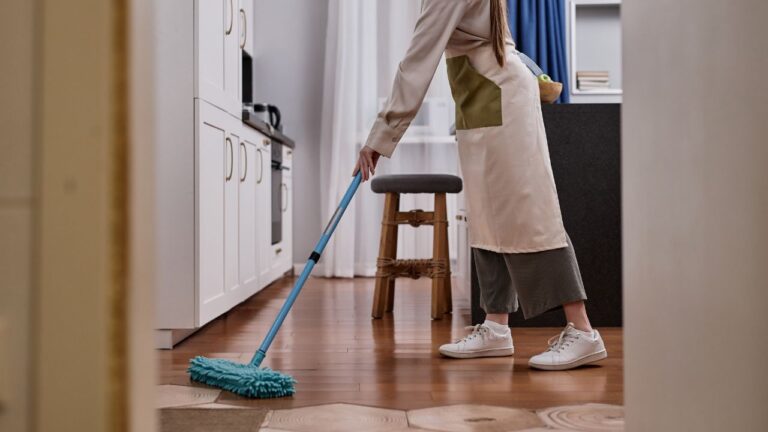
Hard Floors (Wood, Tile, Laminate)
- Let the wax cool and harden
Wait until the wax is fully solid. Trying to clean it while warm can spread it or push it deeper into crevices and wood grain. - Scrape gently with a plastic edge
Use a plastic scraper, old credit card, or silicone spatula. Never use metal or abrasive tools, as they can scratch or dent the surface. - Place a clean brown paper bag or paper towels over the wax
These will absorb the wax when heat is applied. - Apply low, controlled heat using an iron or hairdryer
Place the iron on a low setting (no steam) and gently move it over the paper for a few seconds at a time. For hairdryers, hold it a few inches away and use low heat. The wax will melt and absorb into the paper. - Clean with a surface-appropriate cleaner
For hardwood, use a pH-neutral wood floor cleaner. For tile or laminate, a non-abrasive, all-purpose cleaner works. This removes any oily residue that wax may leave behind.
Countertops (Granite, Marble, Quartz)
- Harden the wax using an ice pack or ice cubes in a bag
Leave it on the wax for a few minutes to make it brittle and easier to remove without smearing. - Carefully chip away the wax using a plastic utensil
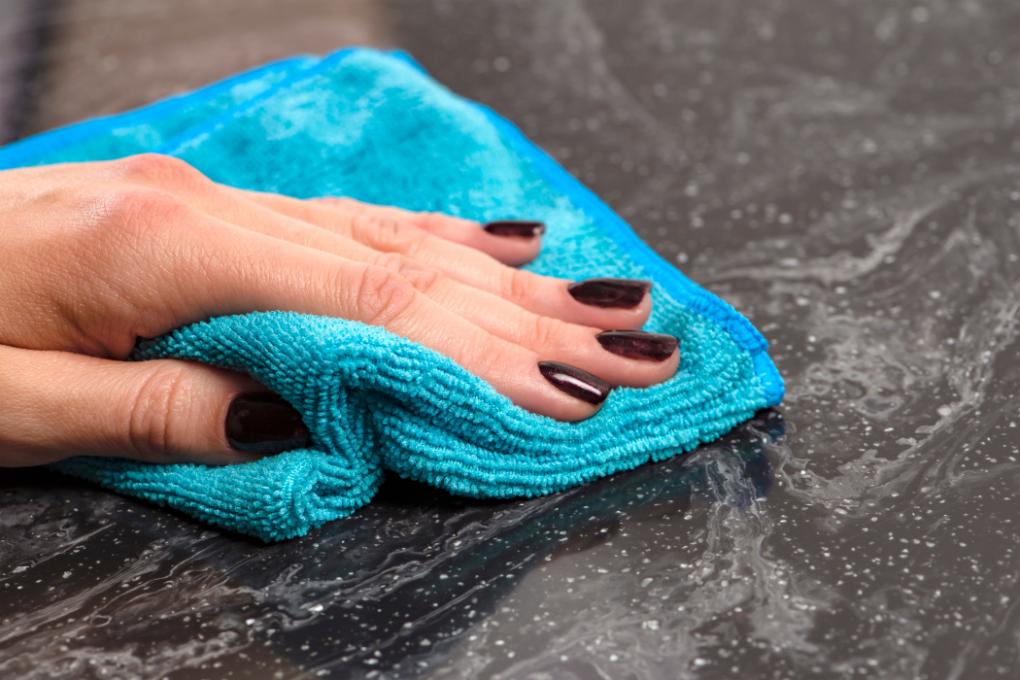
Avoid any sharp tools. For natural stone, be extra cautious not to damage sealants or finishes. - Wipe with a soft microfiber cloth and stone-safe cleaner
Use a pH-neutral, non-acidic cleaner specifically designed for natural stone surfaces. - Buff dry with a clean, dry cloth
This helps restore the stone’s sheen and ensures no residue remains.
Fabric and Upholstery
- Let the wax solidify completely
Speed this up with an ice pack if needed. Removing wax while soft can cause it to soak deeper into the fabric fibers. - Gently scrape off excess wax
Use a dull plastic edge, spoon, or your fingernail. Avoid anything sharp that could tear the fabric. - Place a paper towel or brown paper over the wax
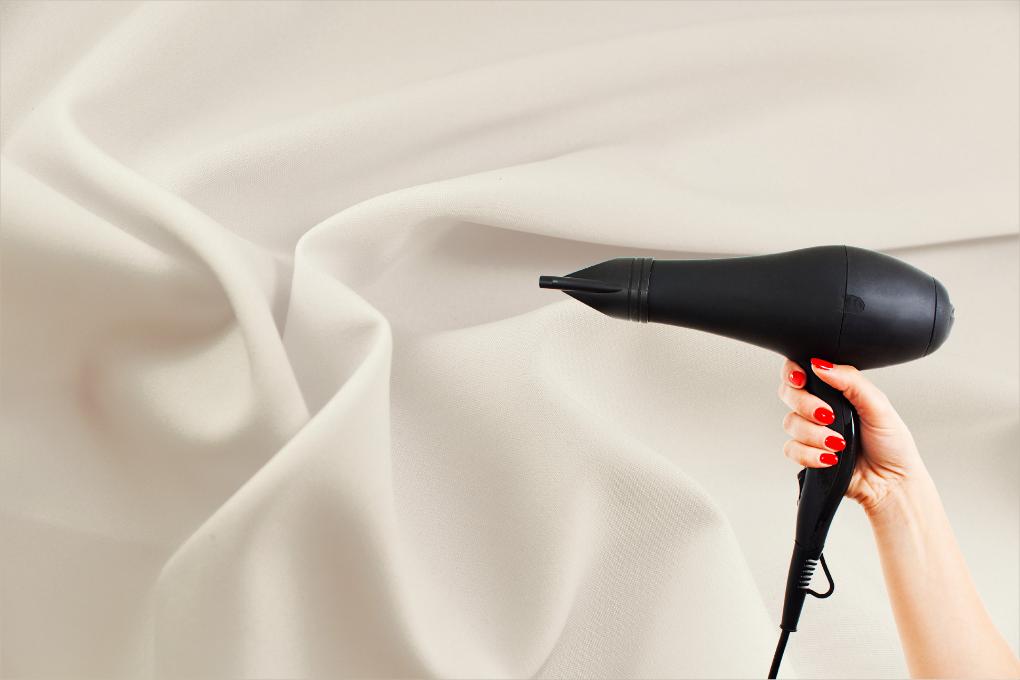
Sandwich the stained area between two clean sheets of absorbent paper. - Apply low heat with a warm iron or hairdryer
Set your iron to a low, dry setting (no steam) and move it gently over the paper. The wax will melt and transfer into the paper. Replace the paper and repeat as needed. - Blot any remaining stain with a fabric-safe stain remover
Avoid over-wetting. Let it air dry completely. For delicate fabrics, spot test the cleaner first in an inconspicuous area.
Walls and Painted Surfaces
- Harden the wax using a cold compress
Apply an ice pack for a few minutes to make the wax easier to lift. - Carefully peel off the wax
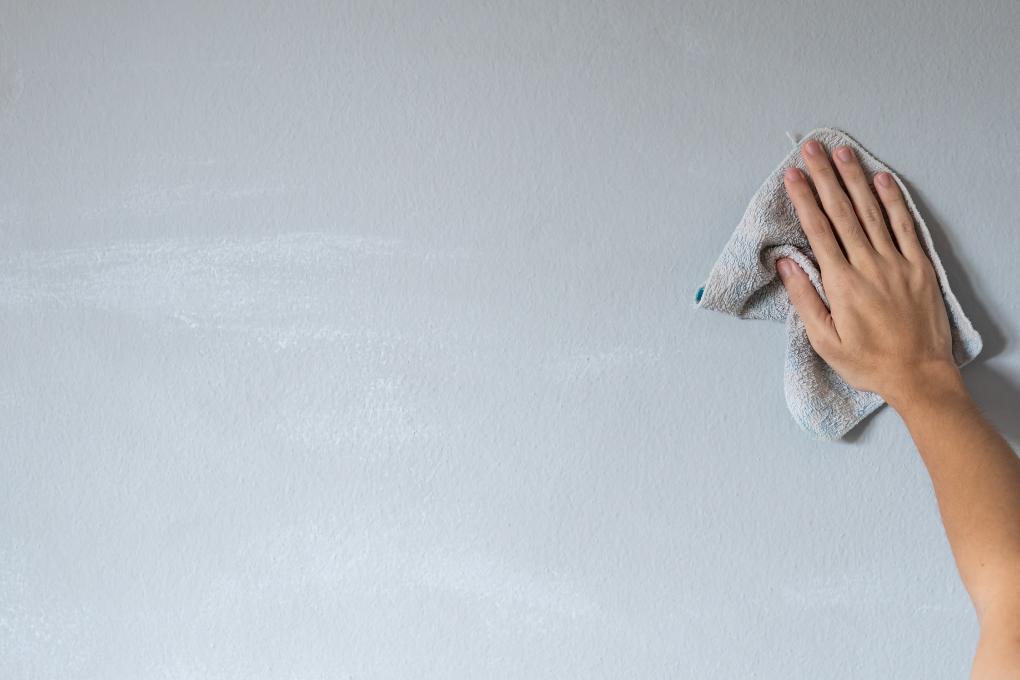
Use your fingernail or a soft plastic scraper. Avoid pressure that could peel paint or damage drywall. - Clean gently with a warm, damp microfiber cloth and mild soap
Mix a drop of dish soap into water and lightly blot the area. Do not scrub—this can strip or fade paint. - Touch up with matching paint if needed
For matte or low-sheen walls, damage may be visible. A light touch-up can restore the finish.
Glass and Mirrors
- Allow the wax to cool fully
Wax on glass is easiest to handle when fully hardened. - Scrape using a razor blade or glass-safe scraper at a 45° angle
Only use this on untreated, flat glass. Avoid coated or antique finishes. - Clean with a standard glass cleaner and lint-free cloth
Spray and wipe using even pressure to remove streaks. - Repeat if necessary for any oily or scented residue
Colored or scented wax can leave a film. Re-clean as needed with fresh cloths and cleaner.

What NOT to Do When Removing Candle Wax
Removing candle wax may seem straightforward, but small missteps can lead to big problems. Over the years, we’ve seen quick attempts at cleanup turn into lasting damage, here are the most common mistakes people make when trying to remove candle wax—and why they should be avoided.
- Avoid using metal tools to scrape off wax. While it might be tempting to reach for a butter knife or razor blade, these can easily scratch delicate surfaces like wood, stone, or glass. A plastic scraper, a silicone spatula, or even an old credit card is much safer and just as effective.
- Never apply direct, high heat to sensitive materials. Using a hot iron or hairdryer directly on a wood floor, painted wall, or plastic surface can cause warping, bubbling, or permanent discoloration. Always use a barrier like a paper towel or cloth between the heat source and the surface to control the temperature.
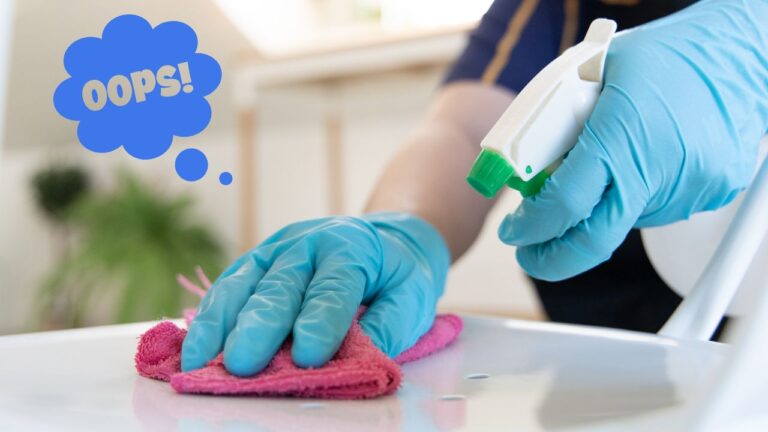
- Don’t rely on harsh or acidic cleaning products to remove wax residue. Products like bleach, vinegar, and lemon-based cleaners may seem like powerful solutions, but they can strip finishes, dull stone surfaces, or even cause staining on porous materials. A gentle, pH-neutral cleaner is always a safer choice.
- Do not attempt to wipe the wax while it’s still warm. Warm wax is more likely to spread or seep deeper into porous materials like wood grain, grout lines, or fabric fibers. The best first step is always to let the wax harden completely before removing it.
- Don’t skip the final cleaning step. Even after the wax has been removed, there may still be residue—especially if the candle was scented or colored. This leftover film can attract dirt, dust, and even lead to long-term staining. Always finish the job with a surface-appropriate cleaner to remove any remaining oils or pigments.
By steering clear of these common mistakes, you can protect your space and avoid turning a simple wax spill into a bigger issue. And when you’re not sure what to do, it’s always safer to call in professionals who know how to handle it properly.

When to Call a Professional Cleaning Service
Some wax spills are easy to handle on your own. But in many cases—especially in small living spaces filled with premium materials and tight corners—trying to fix it yourself can quickly backfire. If you’re unsure about the surface, don’t have the right tools, or simply don’t want to risk permanent damage, that’s when it’s time to call in the pros.
Professional cleaners know how to assess the material and the extent of the spill before taking action. At MyClean, we approach wax removal with care, precision, and a strict attention to detail. We don’t guess—we use proven techniques tailored to the surface, and we do it right the first time.
More importantly, hiring a service like MyClean means convenience. You don’t have to buy supplies, spend time researching, or worry about making the problem worse. You just book, we show up on time, and your space is taken care of—discreetly, professionally, and without hassle.
So whether you’re dealing with a small wax stain on your couch or a major spill across your kitchen floor, we’re ready to step in and get the job done. Fast. Clean. Correct.

Conclusion
Candle wax is one of those sneaky messes that seems minor—until you try to clean it. What starts as a few drops can quickly lead to damaged floors, stained fabrics, or discolored countertops if handled the wrong way. But with the right approach, it’s entirely manageable.
By understanding how wax interacts with different surfaces, avoiding common mistakes, and following safe removal methods, you can keep your home looking spotless without putting your materials at risk. And when it feels like too much—or the surface is just too delicate—MyClean is here to help.
We combine convenience, professionalism, and attention to detail to deliver quality results every time. Whether you live in a studio apartment, student dorm, or downtown loft, our team shows up ready to restore order, protect your space, and make life a little easier.
Because we don’t just clean—we do it right the first time.